
Github Desktop 是 Github 自己出品的 Git 和 Github 客户端,特别是针对 Github 的各种特定功能都有支持,所以现在很流行也被广泛的使用。
自签证书会带来的问题
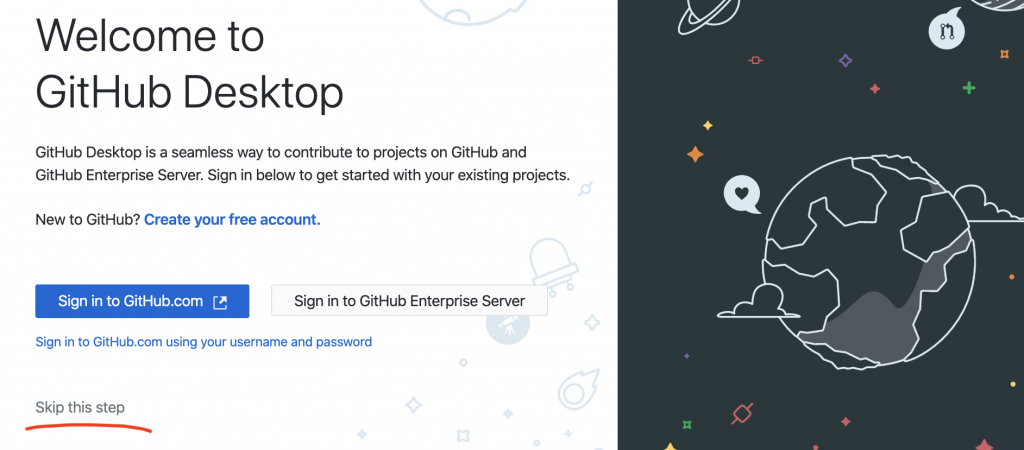
有些企业的 Github 企业版因为种种原因没有申请正式的证书,或者是在POC,内部部署测试期间,没有申请证书。那么有些时候,比如刚刚下载 Github Desktop 就会在默认的欢迎页面遇到困难。例如下图:

解决方法
第一步,在欢迎页选择 skip this step 跳过欢迎页
第二步,正常设置你的 Git 信息
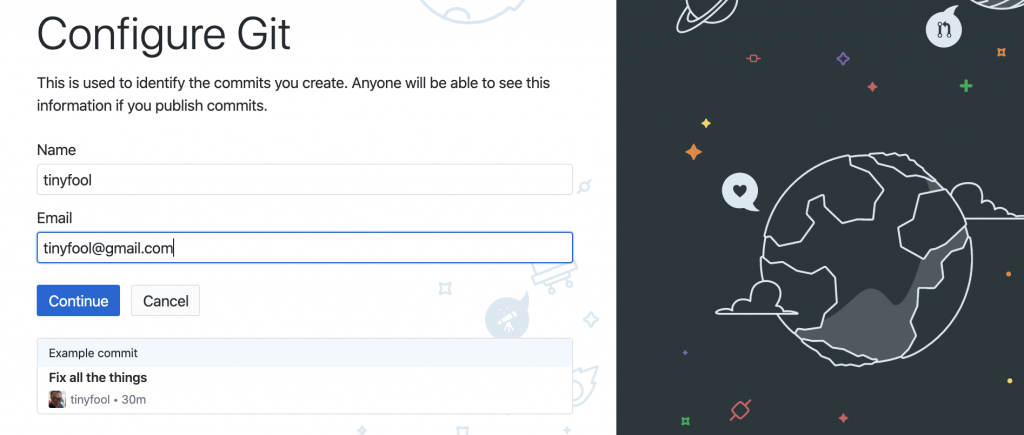
这个信息是提供在提交记录里面你的个人信息的。填写 Name 和 Email 即可。
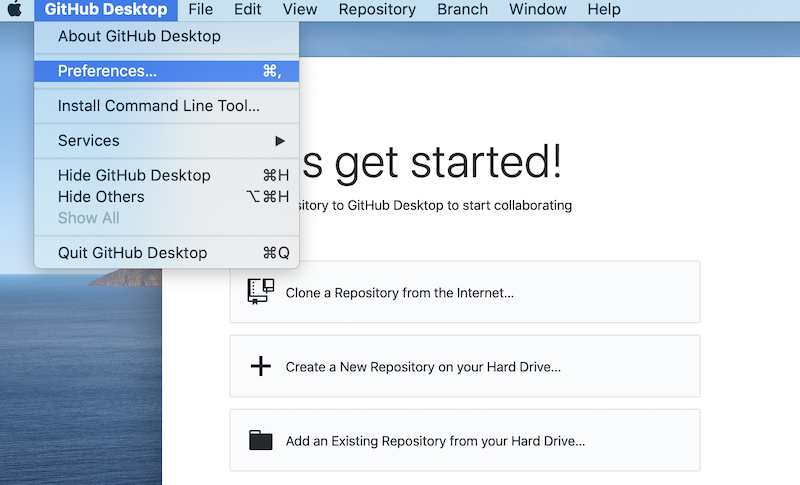
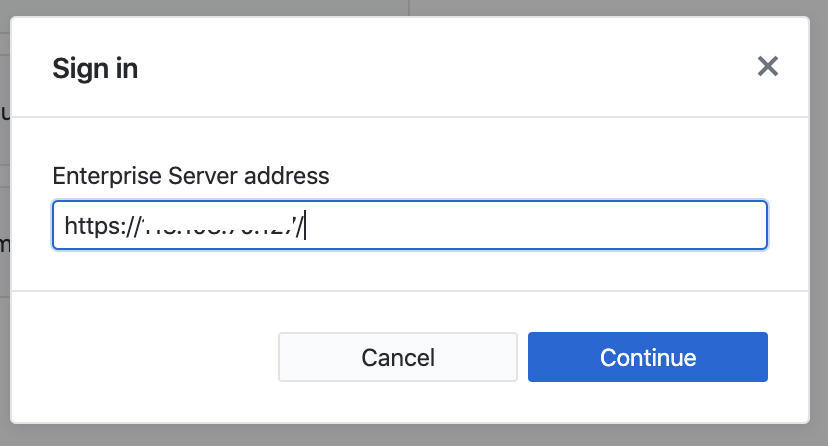
第三步,填写服务器地址
首先,在菜单里面选择 Preferences:
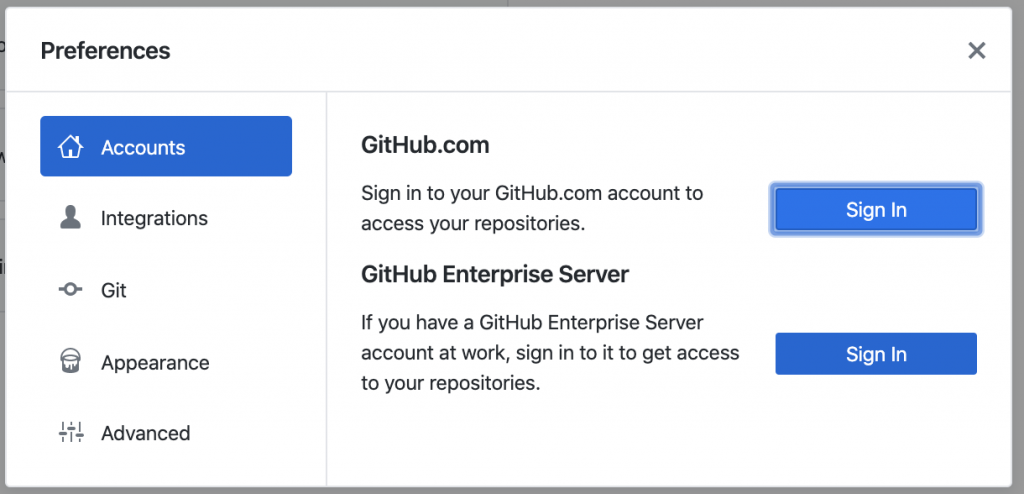
在弹出的界面选择 Accounts,然后点击 Github Enterprise Server 旁边的 Sign In 按钮。
然后填写你的 Github 企业版服务器地址:
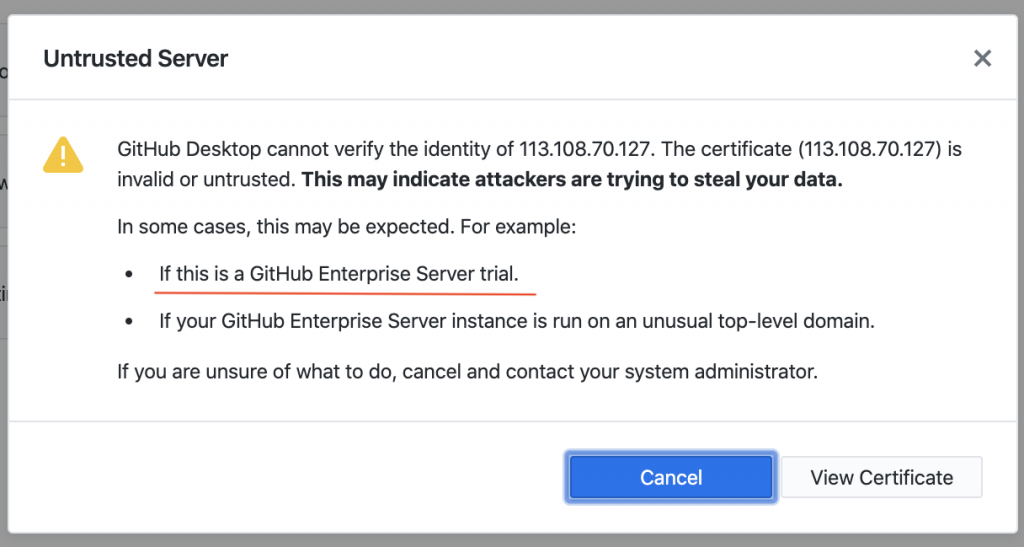
第四步,信任证书。
接下来会提示你这个服务器的证书是自签证书。提示也介绍了,你在试用 Github 企业版服务器的时候,自签证书是很普遍的。
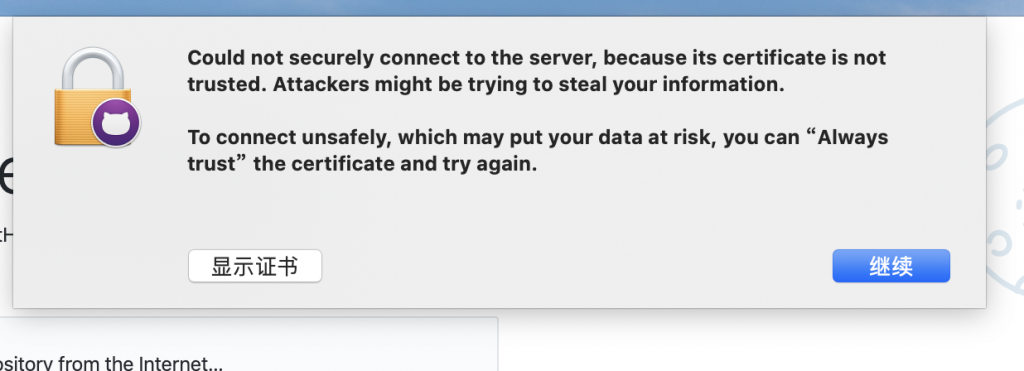
请选择查看证书 View Certificate
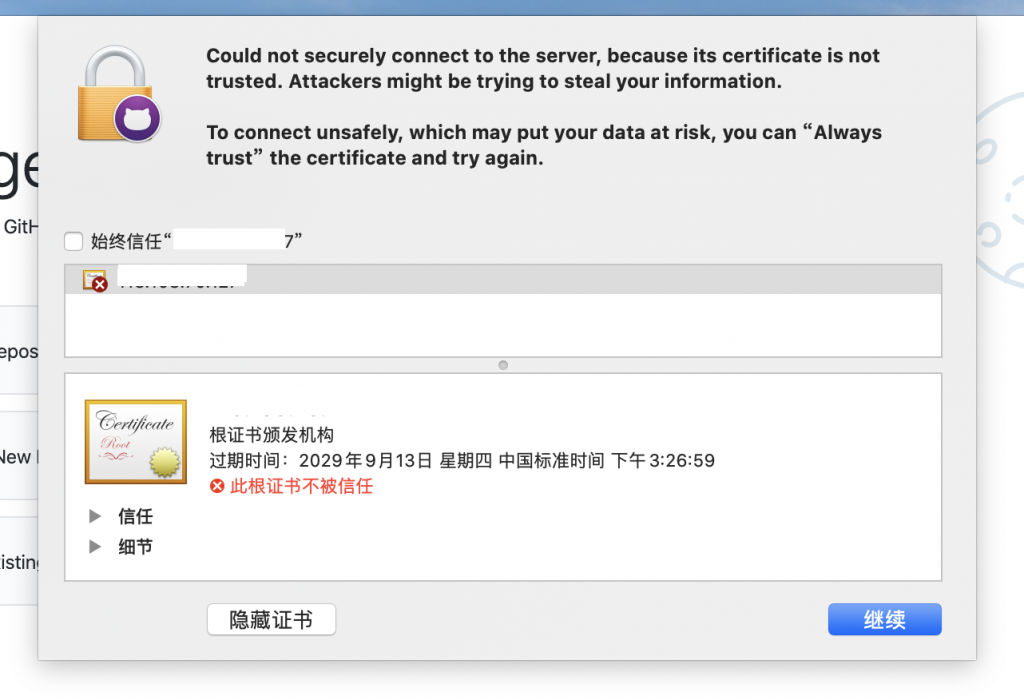
然后,在弹出的证书介绍页面选择显示证书
然后选择始终信任即可
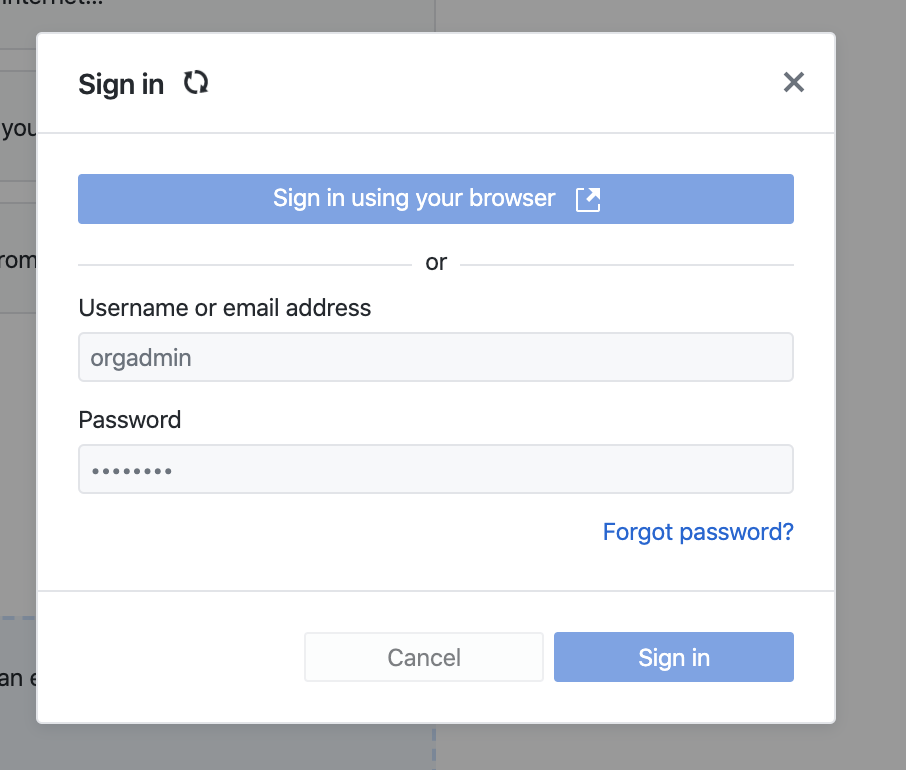
第五步,登录你的账号和密码,稍事等待设置就完成了。
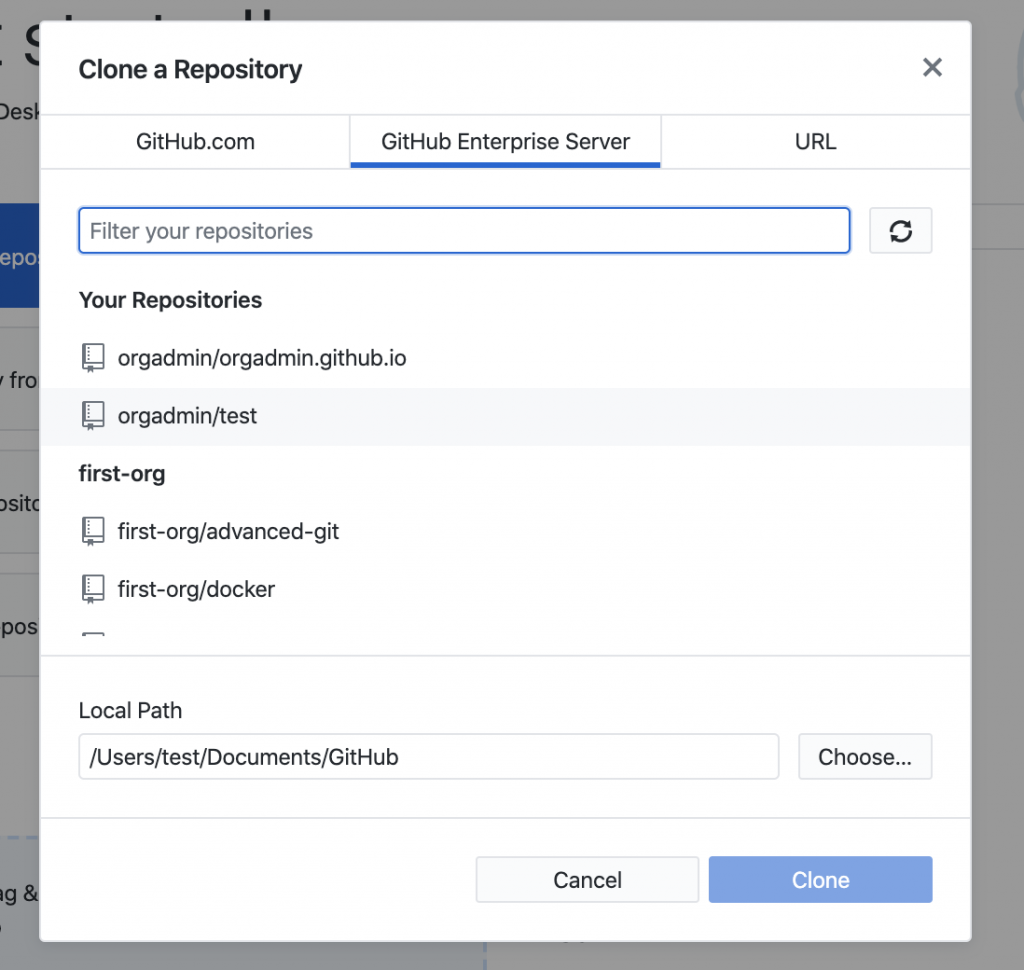
完成设置后,你就可以点击 Clone a Repository 把一个 repo 克隆到本地进行操作了。

 微信扫一扫,打赏作者吧~